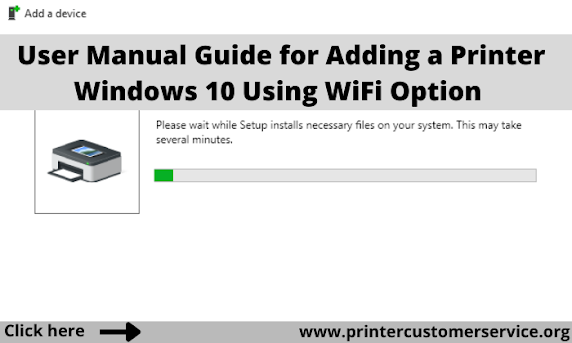
User Manual Guide for Adding a Printer Windows 10 Using WiFi Option
Nowadays, it becomes very easy to add a printer to a Windows 10 computer or laptop. With a few simple steps, you can easily complete the setup process and print the documents. The user can add a printer through USB, Bluetooth, or wireless network options. In this blog, we have discussed the simple guidelines that help you in the process of adding a printer. Keep reading and check out the instructions for adding a printer windows 10.
Steps to Add a Printer in Windows 10 Using WiFi Option
In case your network-capable printer is not detected by Windows automatically then you have to set it up manually which involves installing the drivers, software and configuring TCP/ IP as a port. Go through the below steps for adding a printer windows 10:
Step 1: Open the Windows Start menu. You will get this option in the bottom left corner of the screen.
Step 2: Tap on setting. After that, go to the Devices where you have to select the Printers and Scanners option. You will easily find this option in the left sidebar.
Step 3: Hit on Add a printer option.
Note: Once Windows 10 detects your printer, thereafter, you need to follow the on-screen instructions for your printer setup. If your Windows PC is unable to detect your printer then go to the next step.
Step 4: Hit on the “printer is not listed” option. After that, you will see the “Add Printer” option displayed on your screen. Select “add a local printer or the network printer with the manual settings option. Tap on the next button to proceed further.
Step 5: Next, you need to tap on “create a new port” and choose Standard TCP/ IP from the drop-down box. Enter the IP address of your printer in the appropriate box and tap on the Next button to go ahead.
Step 6: Now, your computer will start detecting the TCP/ IP port which may take time.
Step 7: Choose the appropriate type of your device. Choose the device type that corresponds with your printer brand in the drop-down menu for the Standard DEvice type.
Step 8: In the next step, install the appropriate printer driver and software. Select the printer manufacturer located on the left-hand side column and the printer driver for your printer on the right-hand side. Tap on the Next button to proceed further.
Note: In case you did not see the printer driver for your printer model then tap on the box saying having disk. You will get the instructions to install the printer driver from the manufacturer installation disk. Copy the installation file from the location of the driver to your system.
Step 9: Choose “Use the driver which is installed currently. Tap on the Next button to proceed further.
Step 10: Now, you need to set up the optional preferences. Enter the printer name that you want, otherwise click on the Next button.
Step 11: If you want to share your printer on another network then set up your printer to share. Hit on the Next button.
Step 12: At last, you will see a pop-up message displayed on your screen saying your printer is set up successfully. Try to print a document
Once you read the above instructions, you will get to know the simplest process for adding a printer windows 10 without facing any difficulty and can enjoy the printing process and other printer features.

Comments
Post a Comment